Vuetify3 SASS Variables를 활용한 Style Custom
유튜브나 블로그를 찾아보면 vuetify2에 대한 정보는 있지만 vuetify3는 정보가 아직 부족한 것 같다...
vuetify3에서 SASS Variables를 통해 Global 스타일링 및 helper 클래스를 추가해보자!
나는
settings.scss를 통해 font-size, button-color, button-background, typography 전역 스타일링과
overrides.sass를 통해 기존 helper 클래스를 확장해보았다.
시작하기 전,
typography가 vuetify2에 비해 달라진 점들이 있어 버전을 변경하려고 한다면 읽어보는게 좋을 것 같다!
아래 링크는 업그레이드 가이드 문서인데 vuetify2와 달라진 점을 확인할 수 있다.
https://vuetifyjs.com/en/getting-started/upgrade-guide/#sass-variables
Vuetify — A Vue Component Framework
This page is incomplete. Please check back later for more information, or submit a PR if you notice something missing. If you have additional questions, reach out to us in Discord
vuetifyjs.com
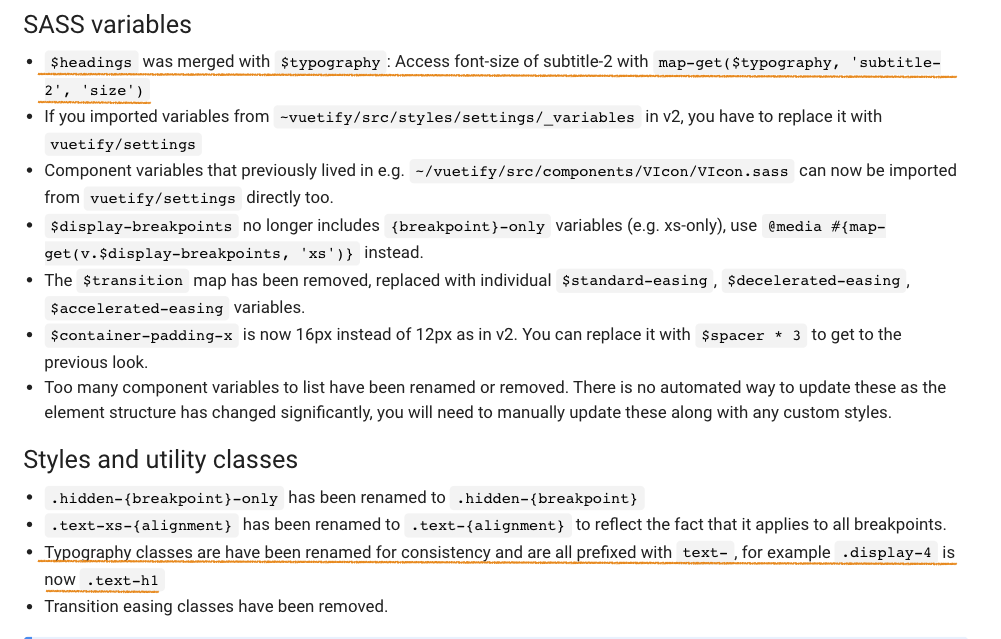
기존 $headings는 $typography로 병합되었고,
typography 클래스는 일관성을 위해 이름이 변경되었으며 모두 "text-" 라는 접두사가 붙는다고 한다!
# 1. SASS Variables 사용한 전역 스타일링
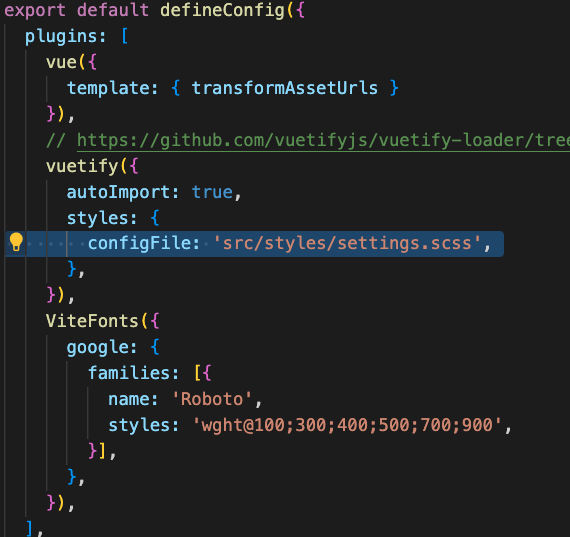
먼저 vue 프로젝트를 생성하면 src/styles 폴더 아래 settings.scss와 vite.config.ts가 생성된다.
vite.config.ts파일의 configFile에서 디렉토리 위치를 확인하자!
settings.scss 파일을 아래와 같이 작성했다.
/**
 * src/styles/settings.scss
 *
 * Configures SASS variables and Vuetify overwrites
 */

// https://vuetifyjs.com/features/sass-variables/`
@use 'vuetify/settings' with (
//   $color-pack: false,
$font-size-root: 20px,
$button-color: red,
$button-background: pink,
$typography:
  (
    'h1': (
      'size': 5rem,
      'weight': 300,
      'line-height': 6rem,
      'letter-spacing': -.015625em,
      'font-family': 'Roboto',
      'text-transform': false
    ),
    'h2': (
      'size': 3.75rem,
      'weight': 300,
      'line-height': 3.75rem,
      'letter-spacing': -.0083333333em,
      'font-family': 'Roboto',
      'text-transform': false
    ),
    'h3': (
      'size': 2rem,
      'weight': 400,
      'line-height': 3.125rem,
      'letter-spacing': normal,
      'font-family': 'Roboto',
      'text-transform': false
    ),
    'g': (
        'size': 3rem,
        'weight': 400,
        'line-height': 3.125rem,
        'letter-spacing': normal,
        'font-family': 'Roboto',
        'text-transform': false
      ),
  )
)
<template>
<div>font-size가 20px</div>
<v-btn>버튼1</v-btn>
<v-btn>버튼2</v-btn>
<v-btn>버튼3</v-btn>
<h1>heading1</h1>
<h2>heading2</h2>
<h3>heading3</h3>
<div class="text-h1">heading1</div>
<div class="text-h2">heading2</div>
<div class="text-h3">heading3</div>
<div class="text-g">heading G</div>
</template>
<script lang="ts" setup>
//
</script>
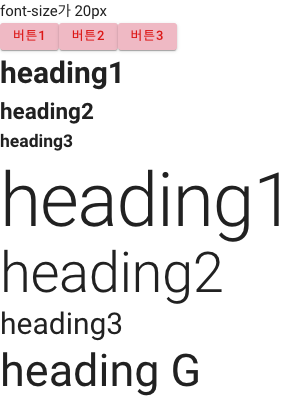
여기서 신기한 점은
기존에 있는 클래스명 text-h1, text-h2 등 기존 클래스에 따라 스타일이 적용되어 있는 것을 커스텀할 수 있다는 점은 물론이고,
이렇게 클래스명을 만들어서 사용할 수도 있다는 것이 신기하다!
  <div class="text-g">heading G</div>

// settings.scss
$typography:
  (
    'g': (
        'size': 3rem,
        'weight': 400,
        'line-height': 3.125rem,
        'letter-spacing': normal,
        'font-family': 'Roboto',
        'text-transform': false
      ),
)
# overrides.sass를 통해 기존 helper 클래스 확장하기
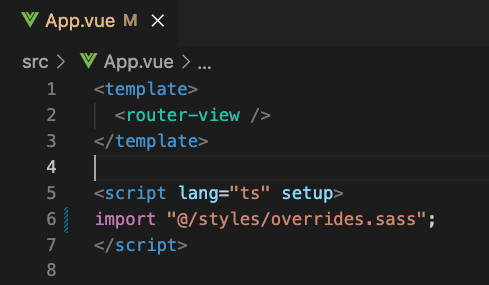
src/styles 폴더 아래 overrides.sass 파일을 만들어준다!

이 파일은 vuetify에서 자동으로 로드되지 않기 때문에 App.vue 파일에서 import하여 사용해야 한다!!
아래 링크를 통해서 확인할 수 있지만,
helper class 중 padding size는 16까지 밖에 지원하지 않는다.
https://vuetifyjs.com/en/styles/spacing/#how-it-works
Vuetify — A Vue Component Framework
Internationalization (i18n)
vuetifyjs.com
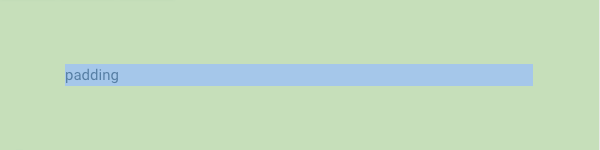
따라서 pa-17을 만들고 사용해보자!
방법은 정말 간단하다
overrides.sass 파일에 아래와 같이 helper class를 만들어서 사용하면 된다!
//overrides.sass
.pa-17
    padding: 88px !important
<div class="pa-17">padding</div>